Showing posts with label ribbon. Show all posts

Wednesday, January 25, 2012

Project Apron: Complete

Ok, here it is. I checked a personal project off my sewing wish list. It's not perfect...but that's mostly because I rushed through it trying to make it while Big K took a nap one afternoon. That, of course, led to a mistake, which ended up costing me time. The mistake was in the apron ties, a mis-measurement, if you must know. I had to improvise, as I was already piecing this apron together from scraps from my yoga mat bag I made last year. (I'm kinda sick of this fabric, now). If you check out the tutorial I used, you'll notice that I changed the pocket on mine to be bigger and divided. I also zig zagged some of the seams. I don't know why, but I am a sucker for the zig zag. Remember when I made the ribbon ties? Well, here they are. They are not quite wide enough for the 2 inch waistband, but they'll do. It's just for messy kitchen tasks, and I can make a new one when I truly get sick of this one. Anyways, I think it's pretty cute. It certainly keeps my sweaters dry when I recklessly splash water while enduring the drudgery of everyday chores washing dishes!

Apron. Check! Next up: Bean bag chairs!!

Thursday, January 12, 2012

Embellished Ribbon Tutorial


I was making myself an apron the other day (using this easy-peasy-lemon-squeezy tutorial), and I goofed up while I was making the apron ties (ok, not so easy-peasy-lemon-squeezy).  I ruined the very last of the fabric I had, and so I improvised.  I figured I could raid my ribbon stash - I had to have something that would go.  And I did.  But who wants boring old brown?  Or boring old blue?  Not ME!  I decided to embellish my ribbon ties, and photographed the super easy steps (even easier than the easy apron tutorial!), so you could try it, too!

What you'll need:

7/8" grosgrain ribbon (or 1 1/2")
3/8" grosgrain ribbon (contrasting color) (or wider if you use 1 1/2" ribbon above)
coordinating thread
lighter


What you'll do:

  1. Cut equal lengths of the two widths of ribbon

  2. Heat seal the ribbon ends by (carefully) melting the ends near a lighter.  To do this, hold the cut end of ribbon parallel to the flame.  Get the ribbon near the flame, but not touching the flame.  The goal is to melt the ribbon end so it won't fray.  No need to start any fires!  (But if you do, extinguish it quickly with your tough, calloused, crafty fingers).  

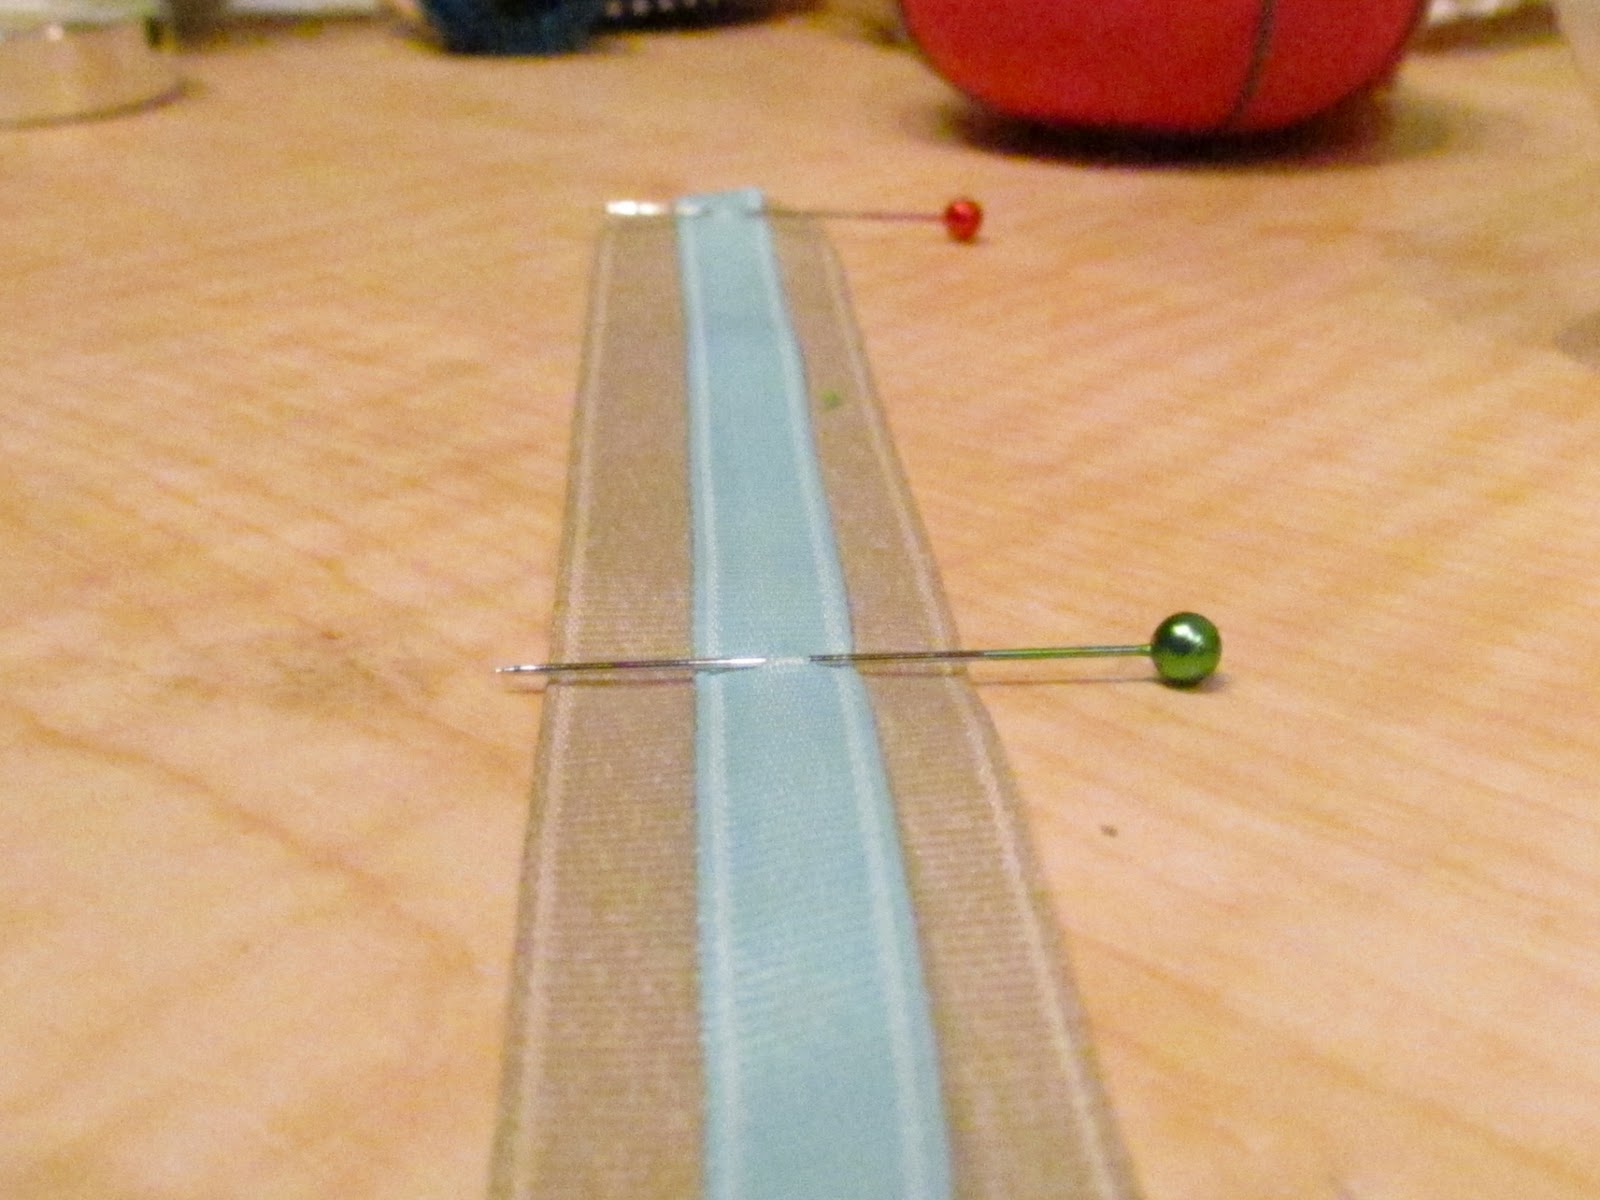
  3. Center the narrow ribbon on top, pin it in place, using several pins.


  4. Set your zig zag for 6.5 mm with a stitch length of 4 mm.  You can tinker with this to get the look you want - just use a test strip of ribbon.  6.5 mm is just a bit narrower than the 3/8" ribbon.

  5. If your sewing machine has a lock stitch option, now is the time to use it!  If not, just backstitch.  Center your ribbon in your sewing machine, and go!


  6. Voila!  Ta da!  Yadda yadda yadda.