Showing posts with label inspiration. Show all posts

Wednesday, January 25, 2012

Project Apron: Complete

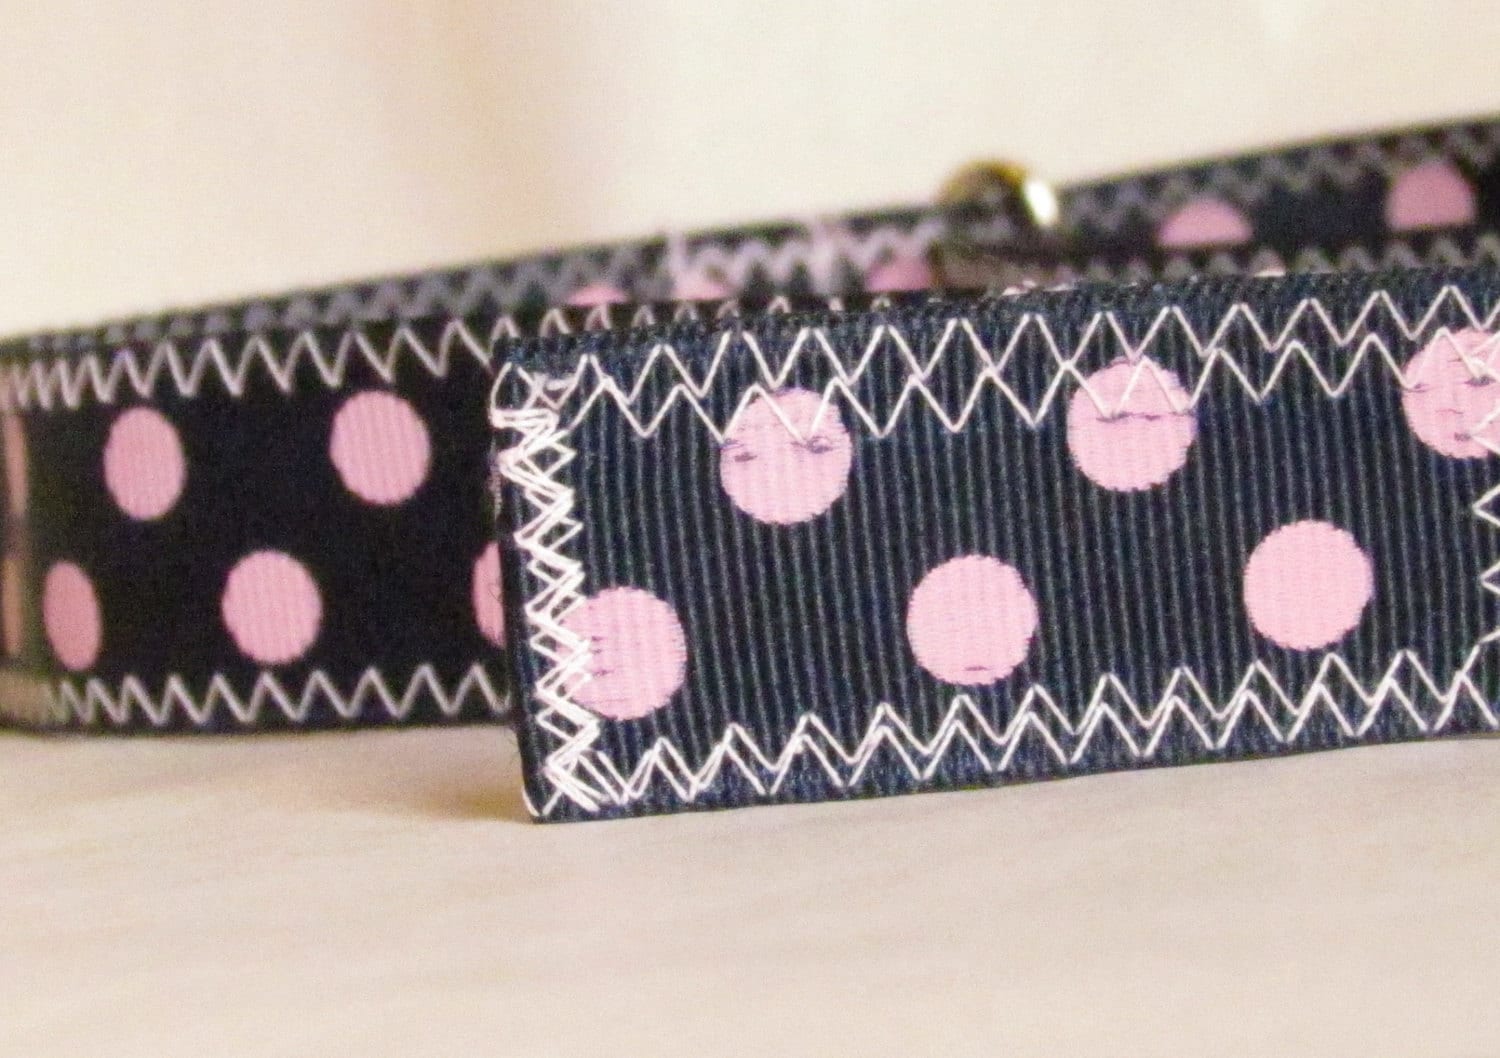
Ok, here it is. I checked a personal project off my sewing wish list. It's not perfect...but that's mostly because I rushed through it trying to make it while Big K took a nap one afternoon. That, of course, led to a mistake, which ended up costing me time. The mistake was in the apron ties, a mis-measurement, if you must know. I had to improvise, as I was already piecing this apron together from scraps from my yoga mat bag I made last year. (I'm kinda sick of this fabric, now). If you check out the tutorial I used, you'll notice that I changed the pocket on mine to be bigger and divided. I also zig zagged some of the seams. I don't know why, but I am a sucker for the zig zag. Remember when I made the ribbon ties? Well, here they are. They are not quite wide enough for the 2 inch waistband, but they'll do. It's just for messy kitchen tasks, and I can make a new one when I truly get sick of this one. Anyways, I think it's pretty cute. It certainly keeps my sweaters dry when I recklessly splash water while enduring the drudgery of everyday chores washing dishes!

Apron. Check! Next up: Bean bag chairs!!

Thursday, January 12, 2012

Embellished Ribbon Tutorial


I was making myself an apron the other day (using this easy-peasy-lemon-squeezy tutorial), and I goofed up while I was making the apron ties (ok, not so easy-peasy-lemon-squeezy).  I ruined the very last of the fabric I had, and so I improvised.  I figured I could raid my ribbon stash - I had to have something that would go.  And I did.  But who wants boring old brown?  Or boring old blue?  Not ME!  I decided to embellish my ribbon ties, and photographed the super easy steps (even easier than the easy apron tutorial!), so you could try it, too!

What you'll need:

7/8" grosgrain ribbon (or 1 1/2")
3/8" grosgrain ribbon (contrasting color) (or wider if you use 1 1/2" ribbon above)
coordinating thread
lighter


What you'll do:

  1. Cut equal lengths of the two widths of ribbon

  2. Heat seal the ribbon ends by (carefully) melting the ends near a lighter.  To do this, hold the cut end of ribbon parallel to the flame.  Get the ribbon near the flame, but not touching the flame.  The goal is to melt the ribbon end so it won't fray.  No need to start any fires!  (But if you do, extinguish it quickly with your tough, calloused, crafty fingers).  

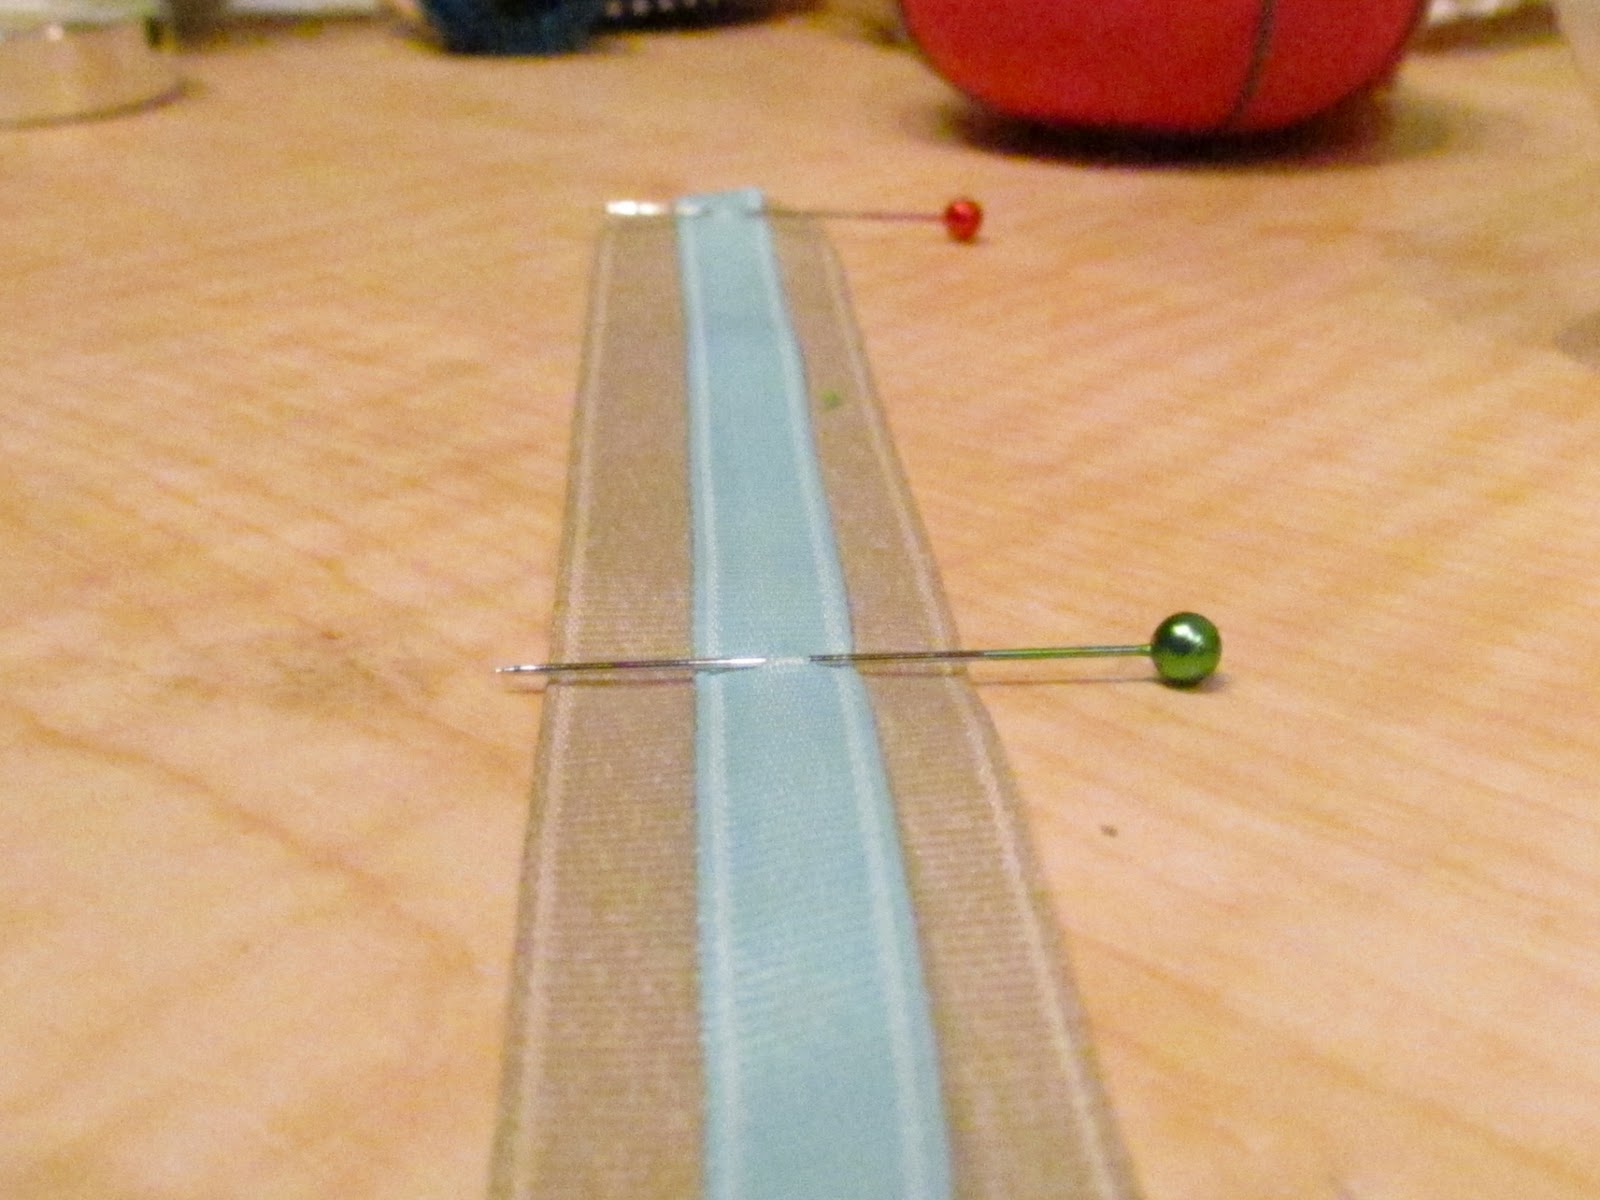
  3. Center the narrow ribbon on top, pin it in place, using several pins.


  4. Set your zig zag for 6.5 mm with a stitch length of 4 mm.  You can tinker with this to get the look you want - just use a test strip of ribbon.  6.5 mm is just a bit narrower than the 3/8" ribbon.

  5. If your sewing machine has a lock stitch option, now is the time to use it!  If not, just backstitch.  Center your ribbon in your sewing machine, and go!


  6. Voila!  Ta da!  Yadda yadda yadda.

Thursday, January 5, 2012

New Year and New Projects

Here it is the 5th of January, and I am just beginning to recover from a long, busy holiday season that started somewhere near the middle of November. I'm grateful for the business, and feel so lucky to call doing what I love "work". I saw a big leap in traffic to my Etsy site, which has resulted in a lot of new customers. I'm not sure, but I think it might have something to do with this little baby: my adjustable buckle-free belt for kids. It debuted just before the holidays, and was very well-received.


While business was booming, I managed to host two sets of out-of-town guests and entertain my kids while they were on winter break for an entire month. Yes, you read that correctly. One. Whole. Month. In between custom orders, turkey dinners, and trips to the zoo, I started making a mental list of the projects I wanted to do just for me. Well, and my kids. And a friend or two. But none of it's for sale. Most of these come from tutorials I found online. There are so many amazing blogger-crafter super humans out there. I hope that's me someday! For now, this is all you get.

Well, here's my project wish list:

1. Beanbag chairs for Big K and Miss B. Made with this great Michael Miller tutorial.
2. Swaddling blankets
3. Pillow for Big K's crib (don't fret...he's old enough!)
4. An apron for me. I know. Easiest sewing project of all. Ever. Well, I happen to do the dishes about six times a day, and always splash myself. Now I'll have a cute apron to splash.
5. Fabric flowers

All projects are a go. I have all the fabric purchased for all the projects. In fact, Miss B hand-picked her own fabric for her beanbag chair. I used a lot of vetoes, since her favorite colors are pink, purple, glitter, and peace signs. We managed to finally agree on something. It's a pink flannel with purple glittery peace signs. Awesome. Big K's was easier since I didn't have to factor in his opinion. He's getting a retro stripe flannel. I just printed out the beanbag tutorial and cut out the pattern tonight. My apron is cut out...just need to sew it together. And the rest...well, I'll get to them. Now I just need to carve out a spec of time to complete them!

In addition to my personal projects, I am preparing Miss B Accessories for the change of seasons (Say what!? Winter hasn't even begun yet!). Watch for some cute Valentine's edition hair accessories! Soon after that, the spring line with fresh colors and designs!

What's on your project wish list?

Saturday, October 29, 2011

What came first?

While perusing the Halloween costume section at the Old Navy Outlet store last month, I came across the cutest chicken costume for Big K.  Buggy, meanwhile, spotted a flimsy, gauzy ladybug number that she wanted me to get her.  Uh, it could snow on Halloween...this is Minnesota.  Gauze is out.  Fleece is in.  I threw the chicken costume on the heap of clothes that were piled haphazardly on my umbrella stroller, and nudged Buggy over to the fleecy cupcake costumes.  There weren't any warm costumes that did it for her. 

Then, I had a brilliant idea...Brilliant!  If Big K is a chicken, then shouldn't Buggy be an egg?!  I told her we were answering the age-old question of who came first.  (The Egg!  Obvi.)  She readily agreed, and I began noodling on how, exactly, to make an egg costume.  Of course, I turned to the internet to find a good tutorial.  I found lots of how-to's for making a fried egg - cute, but not what I needed.  None for making a whole egg.  I decided I would buy my fabric first, stare at it for a while, and see if I could come up with something.  I started with 1 1/2 yards of 54" white fleece.  At the time, I didn't realize I purchased a perfect square of fabric, but when I spread it out and realized my unintentional genius, I was thrilled.  As I stared at the white, fluffy fabric spread out in front of my TV, I took pen to paper, and started sketching.  Then I remembered how, in grade school, whenever a flattened out picture of our round globe was displayed, it was like several ovals connected to one another.  That's it!  I needed panels to sew together.  How about four of them?  Then I could just fold my fabric, cut, sew, and done.  I sketched out the shape of my egg, did some measuring and some (gasp!) algebra, and recreated my drawing to scale on the fabric.


First, I drew the shape of the egg, then measured my drawing, transferred it to the fabric, sewed my oval panels together, added some Velcro, holes for arms, legs, and face, and voila! 


An egg was born!


Wednesday, October 19, 2011

Buttons


Hands down, one of my favorite materials to work with is buttons.  Most of the items in my Etsy shop are dressed with a button or two.  I love them for so many reasons.  1. Their versatility: they can convey a casual or dressy look, they can be used as a focal point or a detail.  2. Buttons are whimsical.  Who doesn't love whimsy?  3.  They beg to be stacked, and the colors played off of one another.  4.  They're cheap and easy to find.  5.  Buttons always add a finishing touch to any project.

 
I have bins and bags and boxes of buttons.  If you don't believe me, just ask my husband.  I don't know why, but he is not a button fan.  Unless they're on his shirt or pants.  Then he LOVES them.  Something to do with keeping his clothing fastened...  I digress.

I wanted to share a couple of quick ideas, and maybe some inspiration to find some buttons and make something cute!  The first thing I do with my buttons, is sort them by size and color.


I usually find my inspiration as I'm sorting new buttons or looking through my collection for something completely unrelated.  That's when I fill my work table with piles of inspiration... like this:


Once I've done that (completely abandoning my initial project at this point...) I search through my printer's drawer that houses all of my ribbon:


I find just the right ribbon to complement my buttons.  I like to use embroidery floss to give the buttons a finished look.  It's also handy for affixing buttons to one another.  Once they are sewn together, I line a 40mm snap clip with 5/8" ribbon (tutorial forthcoming), and glue the button to the clip.  Voila! 


Another super-easy project is to string buttons together using elasticized string, and make a unique necklace or bracelet.  It's a great project for kids - and you'll enjoy wearing it much more than a macaroni necklace!

Friday, August 12, 2011

Tutorials

One thing I really love about blogs in the crafting community is the availability of high quality tutorials.  Don't get me wrong, I've run into my share of mediocre tutorials that leave out a lot of important details (or include blatent miscalculations), but for the most part, I've had great success using tutorials to learn new techniques or find inspiration for projects.


One of my new favorite websites is loaded with vintage patterns and sewing tutorials.  I gush over the patterns, and dream of having time to make my own piping.  Someday!  But for now, I visit Colette Patterns and find inspiration.  You should, too!

One of my visions for this blog is to offer high quality tutorials that will inspire the crafty-at-heart.  I hope to have my first tutorial  posted soon!