Apron. Check! Next up: Bean bag chairs!!
Wednesday, January 25, 2012
Project Apron: Complete
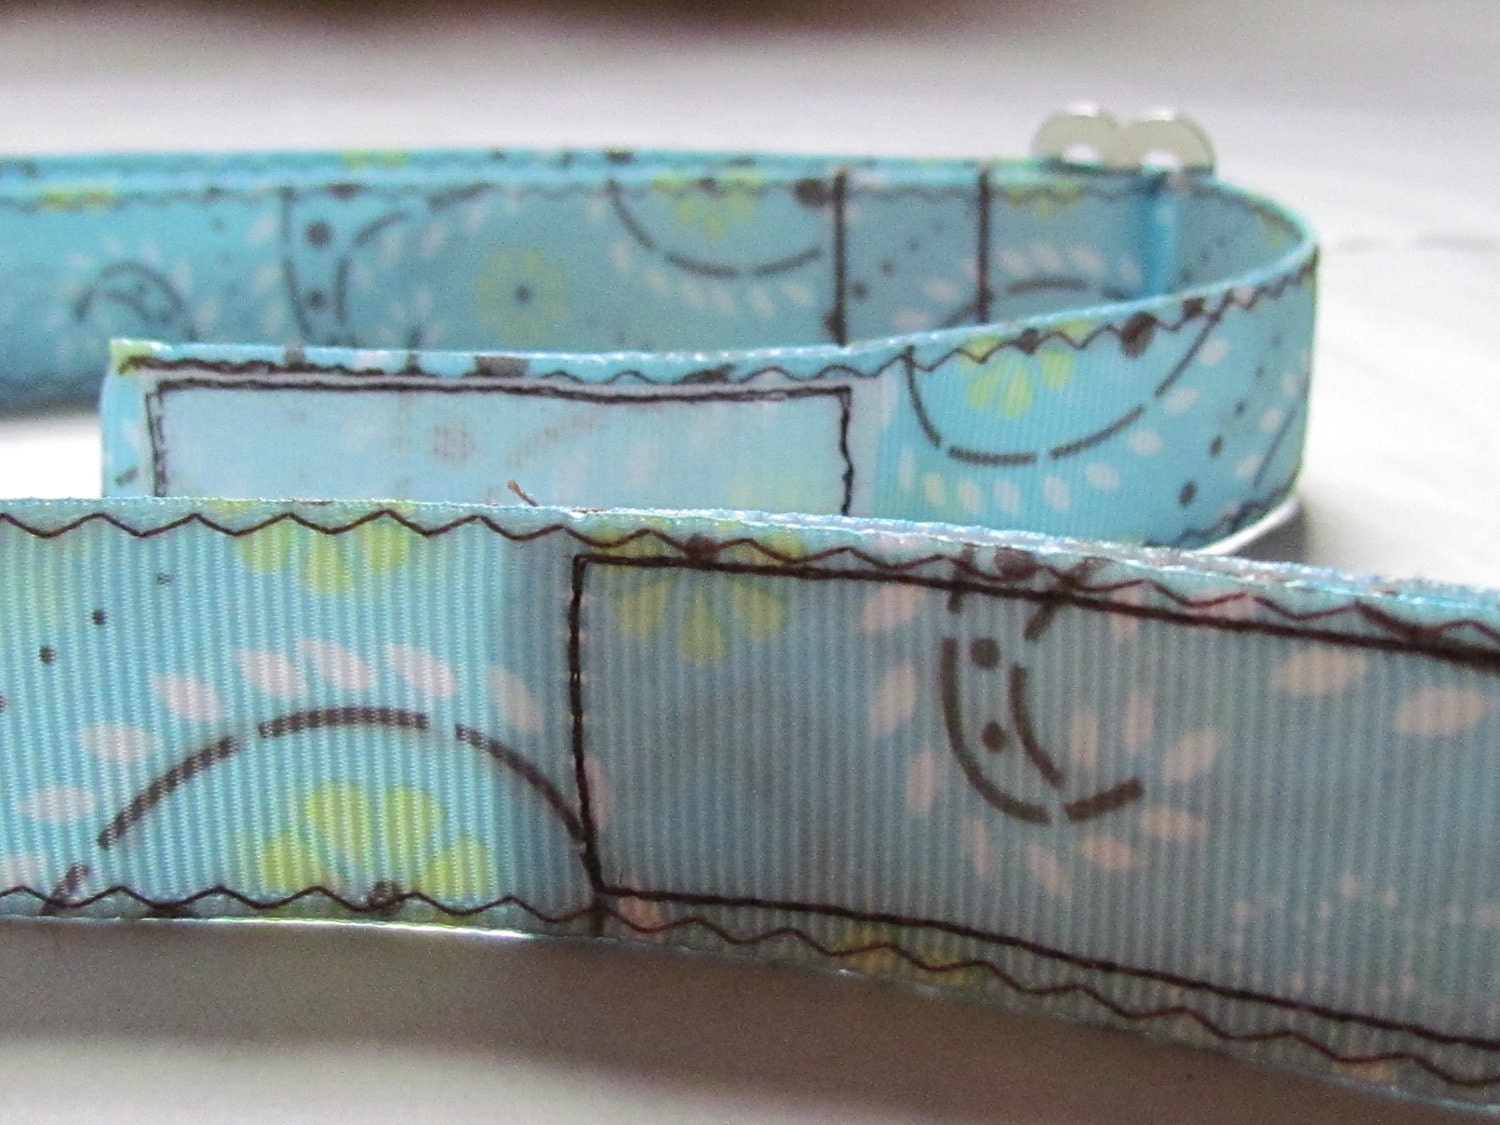
Ok, here it is. I checked a personal project off my sewing wish list. It's not perfect...but that's mostly because I rushed through it trying to make it while Big K took a nap one afternoon. That, of course, led to a mistake, which ended up costing me time. The mistake was in the apron ties, a mis-measurement, if you must know. I had to improvise, as I was already piecing this apron together from scraps from my yoga mat bag I made last year. (I'm kinda sick of this fabric, now). If you check out the tutorial I used, you'll notice that I changed the pocket on mine to be bigger and divided. I also zig zagged some of the seams. I don't know why, but I am a sucker for the zig zag. Remember when I made the ribbon ties? Well, here they are. They are not quite wide enough for the 2 inch waistband, but they'll do. It's just for messy kitchen tasks, and I can make a new one when I truly get sick of this one. Anyways, I think it's pretty cute. It certainly keeps my sweaters dry when I recklessly splash water while enduring the drudgery of everyday chores washing dishes!
Apron. Check! Next up: Bean bag chairs!!
Apron. Check! Next up: Bean bag chairs!!
Thursday, January 12, 2012
Embellished Ribbon Tutorial
I was making myself an apron the other day (using this easy-peasy-lemon-squeezy tutorial), and I goofed up while I was making the apron ties (ok, not so easy-peasy-lemon-squeezy). I ruined the very last of the fabric I had, and so I improvised. I figured I could raid my ribbon stash - I had to have something that would go. And I did. But who wants boring old brown? Or boring old blue? Not ME! I decided to embellish my ribbon ties, and photographed the super easy steps (even easier than the easy apron tutorial!), so you could try it, too!
What you'll need:
7/8" grosgrain ribbon (or 1 1/2")
3/8" grosgrain ribbon (contrasting color) (or wider if you use 1 1/2" ribbon above)
coordinating thread
lighter
What you'll do:
- Cut equal lengths of the two widths of ribbon
- Heat seal the ribbon ends by (carefully) melting the ends near a lighter. To do this, hold the cut end of ribbon parallel to the flame. Get the ribbon near the flame, but not touching the flame. The goal is to melt the ribbon end so it won't fray. No need to start any fires! (But if you do, extinguish it quickly with your tough, calloused, crafty fingers).
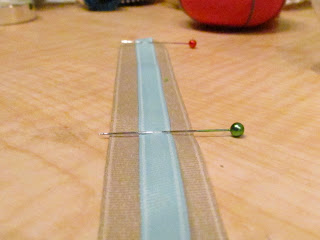
- Center the narrow ribbon on top, pin it in place, using several pins.
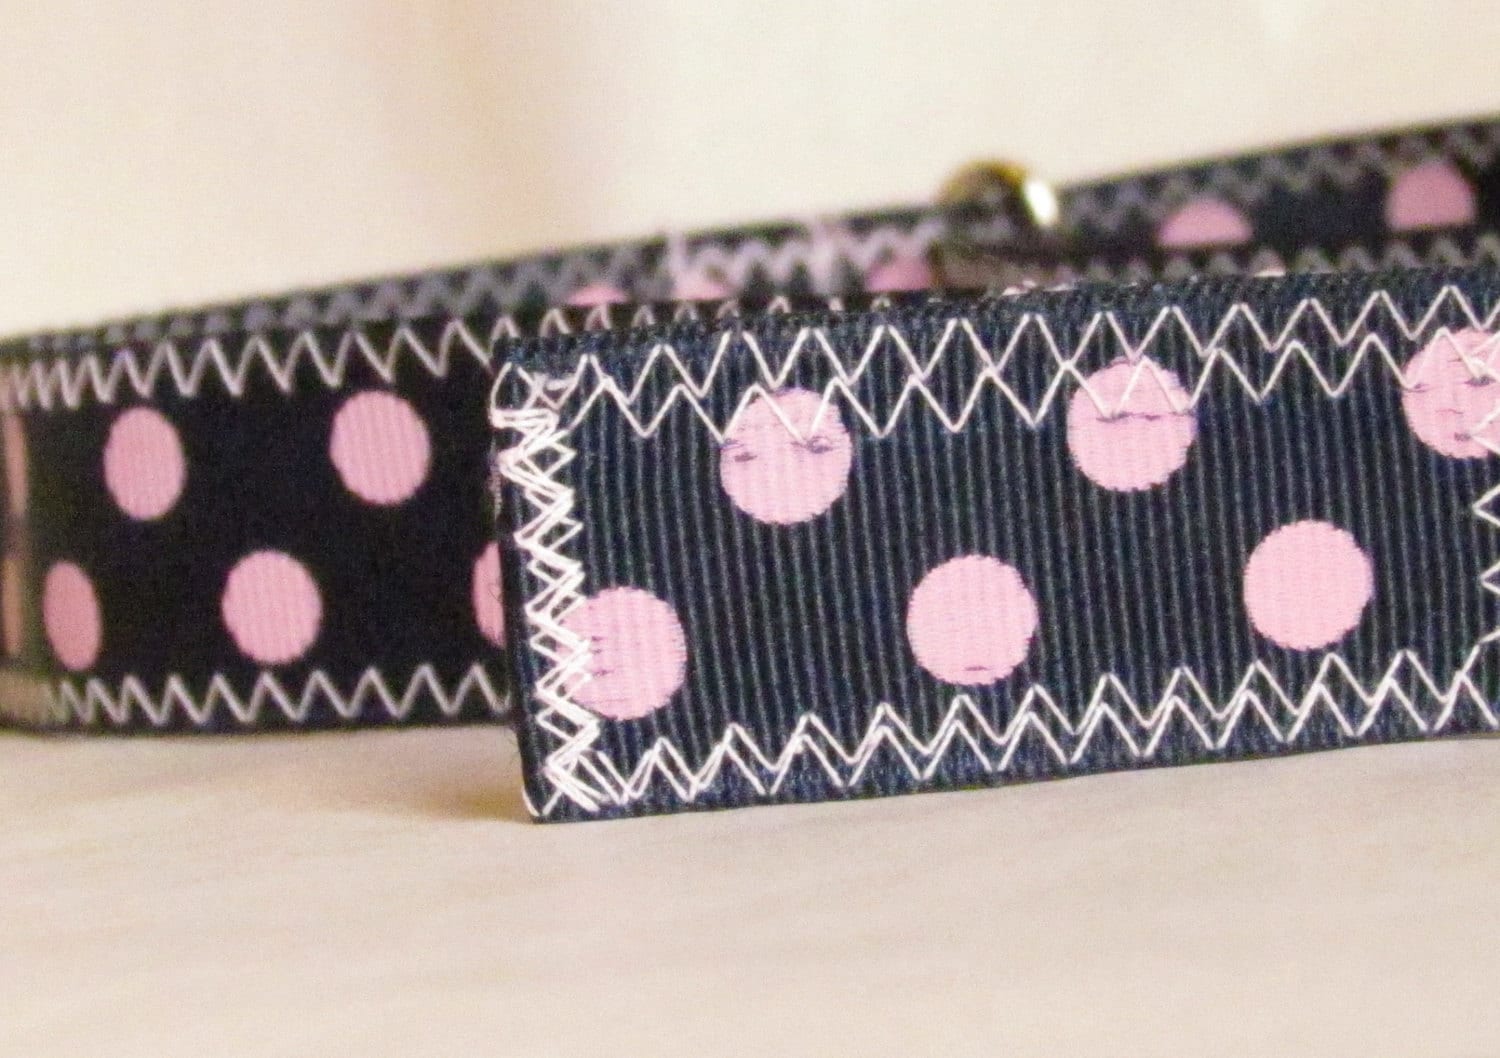
- Set your zig zag for 6.5 mm with a stitch length of 4 mm. You can tinker with this to get the look you want - just use a test strip of ribbon. 6.5 mm is just a bit narrower than the 3/8" ribbon.
- If your sewing machine has a lock stitch option, now is the time to use it! If not, just backstitch. Center your ribbon in your sewing machine, and go!
- Voila! Ta da! Yadda yadda yadda.
Wednesday, January 11, 2012
Tickled Pink Treasury
Miss B Accessories has been featured in several treasuries lately. This latest one is absolutely darling! Check out my favorite - the Felt Heart Banner/Garland. Thanks to Jill of Maisey's Daisey's for putting together another great collection.
'Just Tickled Pink' - by Maisey's Daisey's
Fun pink finds by the Etsy Kids Team
 Valentine Blossom Band
$15.00
| 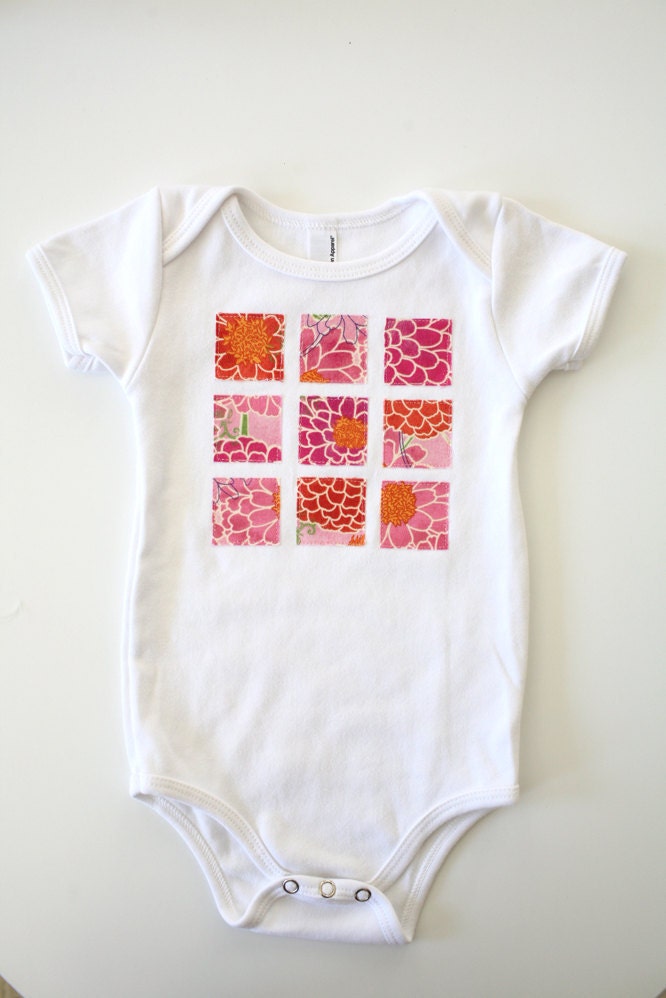 Bodysuit - Mosaic Zinni...
$18.00
|  Nursing Necklace / Teet...
$14.00
|  Pink Flower Hat
$35.00
|
 Eco dryer balls from Na...
$12.00
|  INVITATION - Modern Blo...
$10.00
| 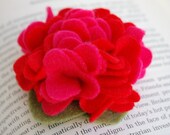 Bright Pink and Red Blo...
$7.00
| 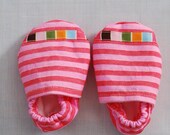 Baby Footies
$10.00
|
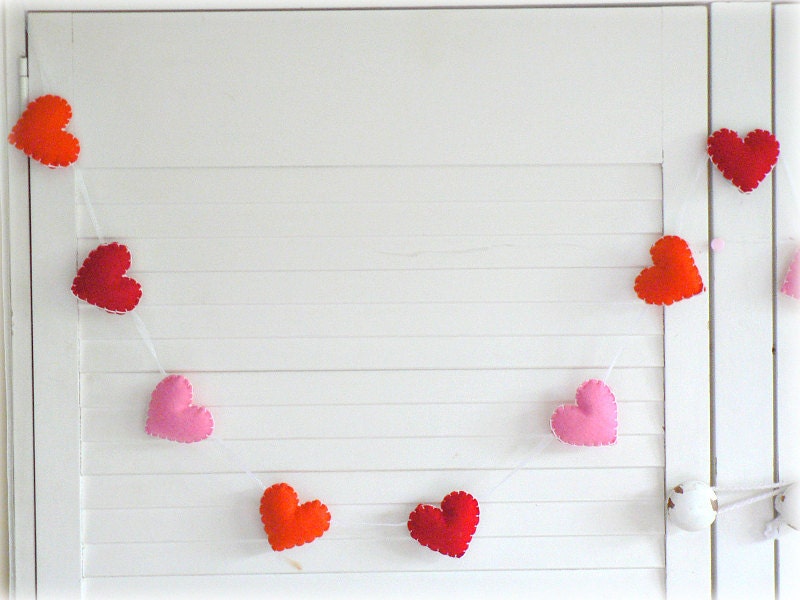 Felt heart banner/ garl...
$20.00
| 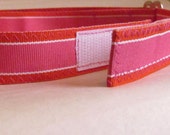 Adjustable Velcro Belt ...
$13.00
| 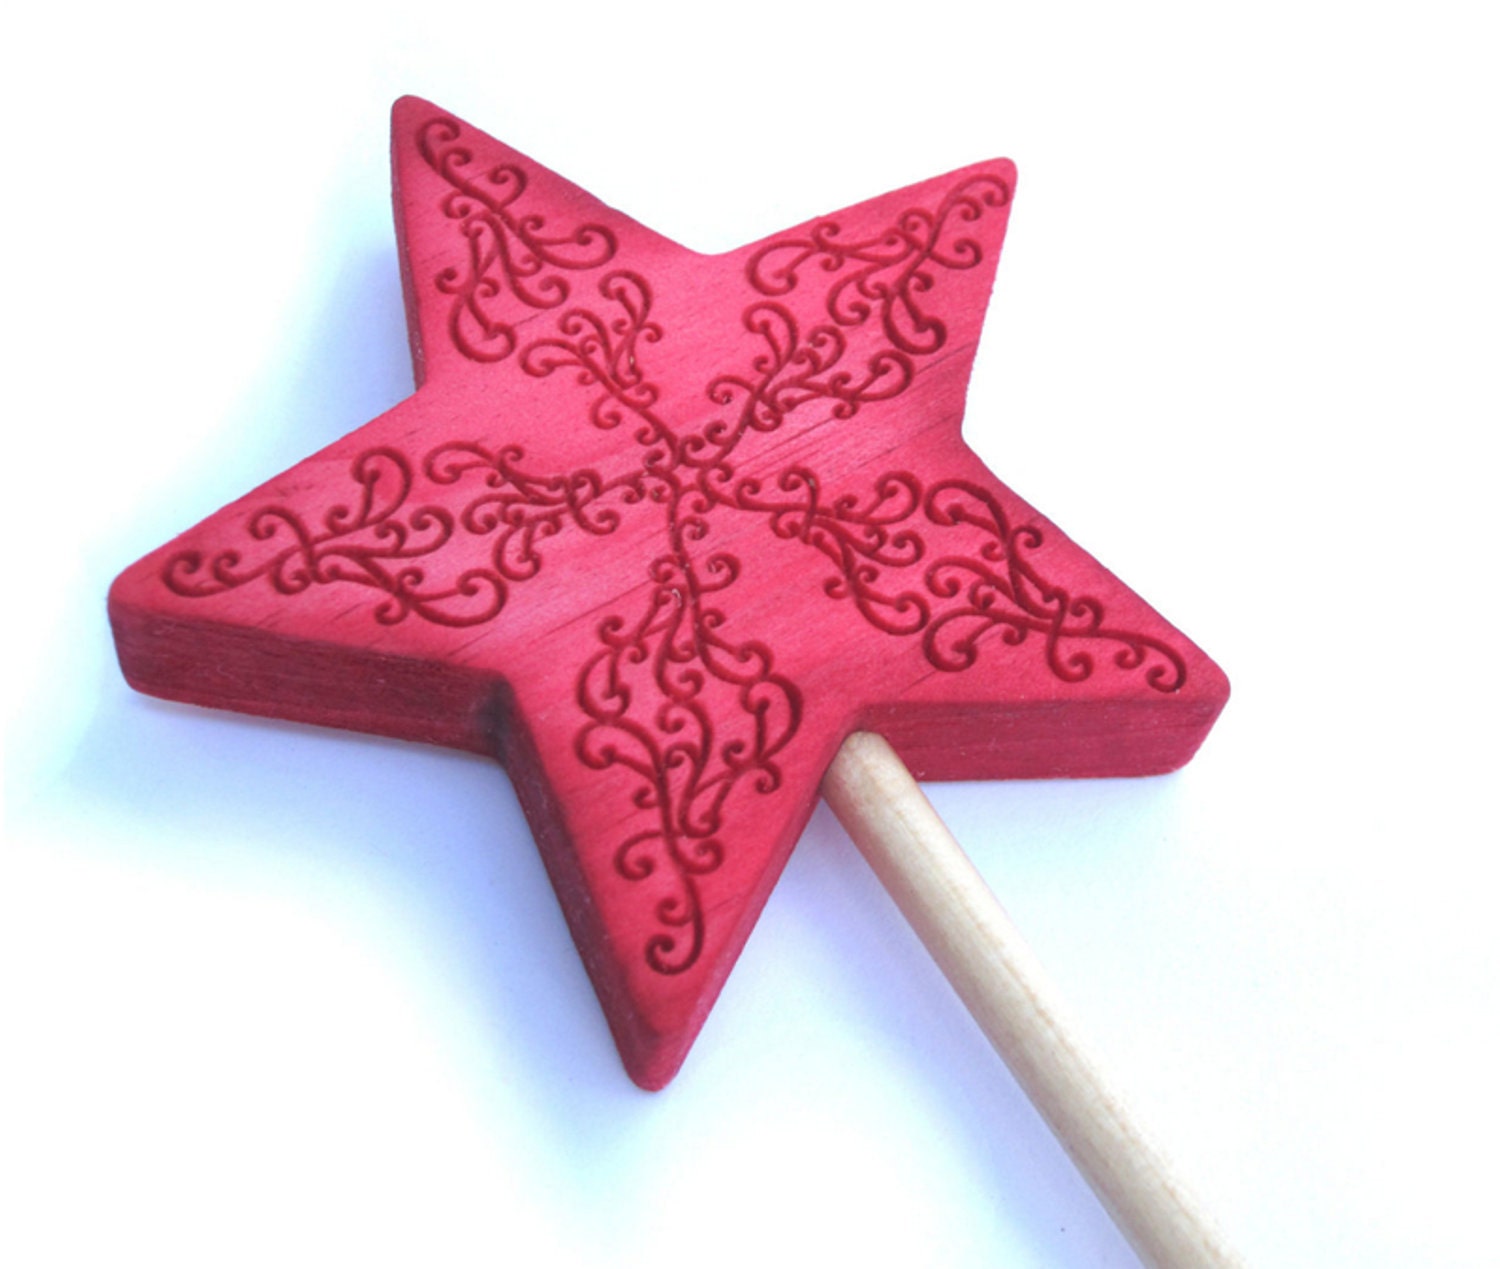 Red wand - wood swirl d...
$7.00
|  Valentine's Mini To...
$22.00
|
 White w/ Mini Pink Dots...
$6.95
|  Crochet Baby Blanket Si...
$50.00
|  Valentines Day- Hand St...
$7.00
|  Pink Cashmere Catnip He...
$7.00
|
Saturday, January 7, 2012
Custom Orders
One of my favorite things about making children's accessories is custom orders. What started off as friends coming over to look through my ribbon stash has blossomed into a full-on custom order system, complete with ribbon sample charts and custom order forms! My creative process is fueled by the freedom I am granted by trusting customers. There is nothing more fun than collaborating with YOU to make that one-of-a-kind piece. Between my inventory of hundreds of ribbons and the thousands more available through my suppliers, I can come up with anything. I also do Gymboree Made-to-Match orders, so if you have Gymboree outfits, I can make accessories that match perfectly.
I have a page on my blog to display all of the ribbons I have available. Please note that I do not stock every solid, polka dot, or Swiss dot. I do have a lot of them, but not all. If you choose something that I don't have in stock, it typically takes an additional three days for me to get the ribbon. Because this has become such a big piece of my business, I had to come up with policies for custom orders:
********************************************************************
I love custom orders; they are the bulk of my business! Do you have an outfit that needs an accessory? You can send me a picture, or describe the colors to me, and I will create a one-of-a-kind accessory just for you! I make Gymboree made-to-match accessories, too! I can also substitute the clip type to accommodate different hair textures. I use snap clips, alligator clips, and French barrettes. I also make custom headbands and ponytail binders. Adjustable Velcro or D-ring belts can be made of any 7/8" ribbon, except satin ribbons.
Samples of the ribbons I have in-stock or available to order can be viewed here: http://missbaccessories.blogspot.com/p/available-ribbon-for-custom-orders.html
Please allow an additional 3-5 days for your custom order to ship. Out-of-stock ribbons require additional time for ordering.
There is a $10 minimum for all custom orders. This can include other items from my shop, even ready-to-ship accessories.
Send me a message if you would like to discuss a custom order. Here's a link to contact me: http://www.etsy.com/conversations/new?with_id=8606984
I look forward to working with you!
********************************************************************
Thursday, January 5, 2012
New Year and New Projects
Here it is the 5th of January, and I am just beginning to recover from a long, busy holiday season that started somewhere near the middle of November. I'm grateful for the business, and feel so lucky to call doing what I love "work". I saw a big leap in traffic to my Etsy site, which has resulted in a lot of new customers. I'm not sure, but I think it might have something to do with this little baby: my adjustable buckle-free belt for kids. It debuted just before the holidays, and was very well-received.
While business was booming, I managed to host two sets of out-of-town guests and entertain my kids while they were on winter break for an entire month. Yes, you read that correctly. One. Whole. Month. In between custom orders, turkey dinners, and trips to the zoo, I started making a mental list of the projects I wanted to do just for me. Well, and my kids. And a friend or two. But none of it's for sale. Most of these come from tutorials I found online. There are so many amazing blogger-crafter super humans out there. I hope that's me someday! For now, this is all you get.
Well, here's my project wish list:
1. Beanbag chairs for Big K and Miss B. Made with this great Michael Miller tutorial.
2. Swaddling blankets
3. Pillow for Big K's crib (don't fret...he's old enough!)
4. An apron for me. I know. Easiest sewing project of all. Ever. Well, I happen to do the dishes about six times a day, and always splash myself. Now I'll have a cute apron to splash.
5. Fabric flowers
All projects are a go. I have all the fabric purchased for all the projects. In fact, Miss B hand-picked her own fabric for her beanbag chair. I used a lot of vetoes, since her favorite colors are pink, purple, glitter, and peace signs. We managed to finally agree on something. It's a pink flannel with purple glittery peace signs. Awesome. Big K's was easier since I didn't have to factor in his opinion. He's getting a retro stripe flannel. I just printed out the beanbag tutorial and cut out the pattern tonight. My apron is cut out...just need to sew it together. And the rest...well, I'll get to them. Now I just need to carve out a spec of time to complete them!
In addition to my personal projects, I am preparing Miss B Accessories for the change of seasons (Say what!? Winter hasn't even begun yet!). Watch for some cute Valentine's edition hair accessories! Soon after that, the spring line with fresh colors and designs!
What's on your project wish list?
Subscribe to:
Comments (Atom)


