Saturday, October 29, 2011

What came first?

While perusing the Halloween costume section at the Old Navy Outlet store last month, I came across the cutest chicken costume for Big K.  Buggy, meanwhile, spotted a flimsy, gauzy ladybug number that she wanted me to get her.  Uh, it could snow on Halloween...this is Minnesota.  Gauze is out.  Fleece is in.  I threw the chicken costume on the heap of clothes that were piled haphazardly on my umbrella stroller, and nudged Buggy over to the fleecy cupcake costumes.  There weren't any warm costumes that did it for her. 

Then, I had a brilliant idea...Brilliant!  If Big K is a chicken, then shouldn't Buggy be an egg?!  I told her we were answering the age-old question of who came first.  (The Egg!  Obvi.)  She readily agreed, and I began noodling on how, exactly, to make an egg costume.  Of course, I turned to the internet to find a good tutorial.  I found lots of how-to's for making a fried egg - cute, but not what I needed.  None for making a whole egg.  I decided I would buy my fabric first, stare at it for a while, and see if I could come up with something.  I started with 1 1/2 yards of 54" white fleece.  At the time, I didn't realize I purchased a perfect square of fabric, but when I spread it out and realized my unintentional genius, I was thrilled.  As I stared at the white, fluffy fabric spread out in front of my TV, I took pen to paper, and started sketching.  Then I remembered how, in grade school, whenever a flattened out picture of our round globe was displayed, it was like several ovals connected to one another.  That's it!  I needed panels to sew together.  How about four of them?  Then I could just fold my fabric, cut, sew, and done.  I sketched out the shape of my egg, did some measuring and some (gasp!) algebra, and recreated my drawing to scale on the fabric.


First, I drew the shape of the egg, then measured my drawing, transferred it to the fabric, sewed my oval panels together, added some Velcro, holes for arms, legs, and face, and voila! 


An egg was born!


Wednesday, October 19, 2011

Buttons


Hands down, one of my favorite materials to work with is buttons.  Most of the items in my Etsy shop are dressed with a button or two.  I love them for so many reasons.  1. Their versatility: they can convey a casual or dressy look, they can be used as a focal point or a detail.  2. Buttons are whimsical.  Who doesn't love whimsy?  3.  They beg to be stacked, and the colors played off of one another.  4.  They're cheap and easy to find.  5.  Buttons always add a finishing touch to any project.

 
I have bins and bags and boxes of buttons.  If you don't believe me, just ask my husband.  I don't know why, but he is not a button fan.  Unless they're on his shirt or pants.  Then he LOVES them.  Something to do with keeping his clothing fastened...  I digress.

I wanted to share a couple of quick ideas, and maybe some inspiration to find some buttons and make something cute!  The first thing I do with my buttons, is sort them by size and color.


I usually find my inspiration as I'm sorting new buttons or looking through my collection for something completely unrelated.  That's when I fill my work table with piles of inspiration... like this:


Once I've done that (completely abandoning my initial project at this point...) I search through my printer's drawer that houses all of my ribbon:


I find just the right ribbon to complement my buttons.  I like to use embroidery floss to give the buttons a finished look.  It's also handy for affixing buttons to one another.  Once they are sewn together, I line a 40mm snap clip with 5/8" ribbon (tutorial forthcoming), and glue the button to the clip.  Voila! 


Another super-easy project is to string buttons together using elasticized string, and make a unique necklace or bracelet.  It's a great project for kids - and you'll enjoy wearing it much more than a macaroni necklace!

Sunday, October 16, 2011

Miss B Accessories Giveaway


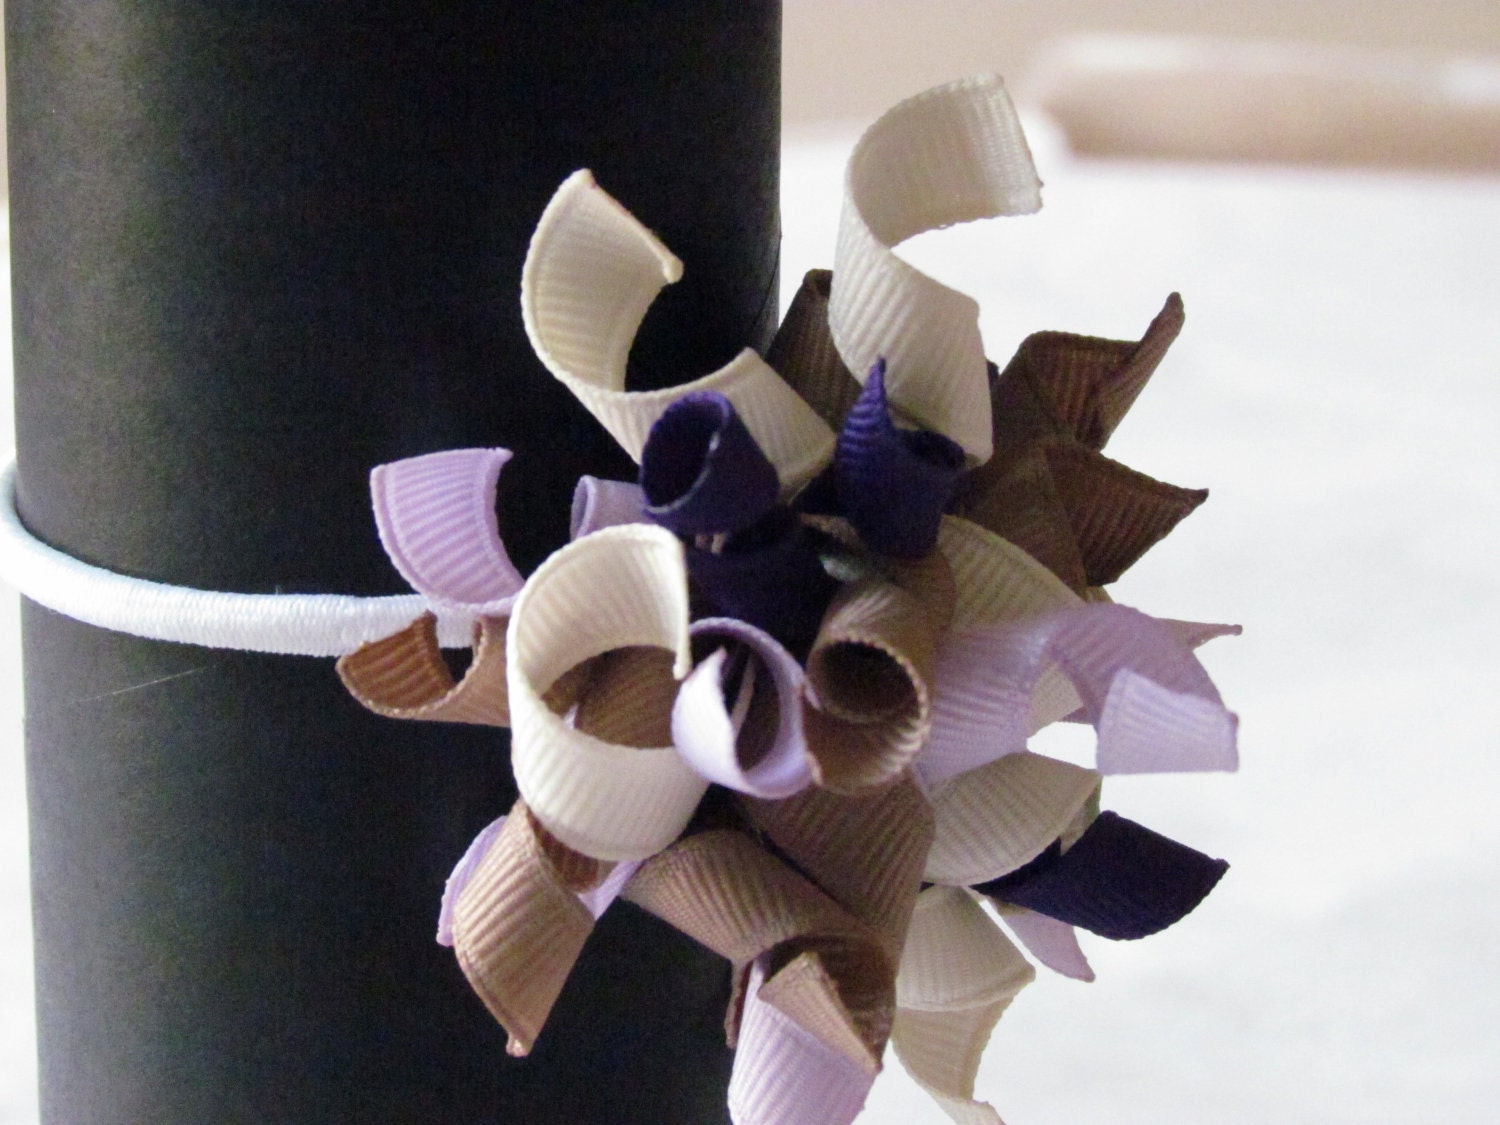
I am proud to be a part of the Minnesota Etsy street team, HandmadeMN.  As part of this group, I was given the opportunity to participate in a blog giveaway!  There are many (low-committment) ways to enter to win one of my very favorite creations - the Purple Confetti Korker Pony.  All you have to do is go to the HandmadeMN site (http://etsymn.blogspot.com/2011/10/handmademn-giveaway-miss-b-accessories.html) and do one or more of the requirements to enter.  It's as easy as becoming my fan on Facebook, following me on Twitter or commenting on the post.  You can enter more than once to increase your chances for winning!  This is a great way to support local artists in your community and bring awareness to our online presence.  Don't forget to forward this to your friends who may not know about Miss B Accessories, or Tweet about it, or post on Facebook!  Thanks for your support!  I hope YOU win!  


Monday, October 3, 2011

HandmadeMN Giveaway

I am happy to be a part of the collaborative community of HandmadeMN - an Etsy Street Team that I joined based on my geographic alignment.  I haven't been as active in it since having the baby (I know, what else is new?) but when I was active, I really loved bouncing ideas off of other members, getting my small business questions answered by peers, and getting encouragement and inspiration.  Now, I have been given the opportunity to do a blog giveaway!  Visit the HandmadeMN blog to find out more about this incredible community comprised of local artisans, and to enter for a chance to win one of my hair bows.  Please take a minute to check it out!  My giveaway is October 16th through 29th, but you can enter the current giveaway now!  Click here!


Also, if you want a fun way to spend a couple hours and pick up some one-of-a-kind gifts (you know, knock out that holiday shopping early!), check out the Fall Market at the Ballentine VFW (yep, the one where you sing your heart out on karaoke night.  Yeah, I thought I recognized you!)  Ok, so don't miss it.  Saturday, October 22nd, 10-5.  I'll be there!